

Hello all,
Are you new to t-shirt design? Do you want to make money with selling your own tshirt designs on sites like Etsy, Redbubble, etc? Or do you want to make holiday t-shirts for family and friends? Do you need some help with tips and info on creating your first t-shirt design? Then you have come to the right place. I am going to go over some steps on creating a Halloween design for this holiday, with an easy to use template and little cost on your part. UPDATE: I plan on releasing a video tutorial of this same process. I’ll update this post when I’m finished with the video.
What you’ll need:
a. Photopea – it’s an online photo editor that lets you edit photos, apply effects, filters, add texts, etc. Did I mention it’s FREE?
Get it here –> https://www.photopea.com/ (NOTE: If you already have Photoshop, use Photoshop instead and skip “the loading the fonts in Step 4”).
b. Halloween T-shirt Bundle – Only $14, get it here –> Buy here
Enter this coupon on checkout for an additional 20%off: 20offnow
c. PeaZip – It’s a free Zip/RAR compression tool, you are going to need this if you don’t already have an uncompress tool.
Get it here –> https://peazip.github.io/
Now for the Tutorial:
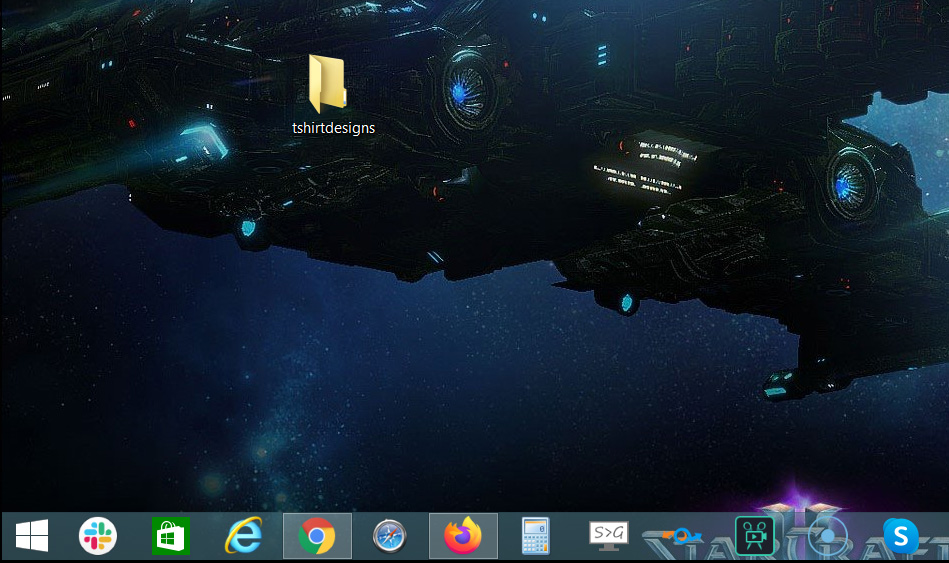
Step 1: Buy the tshirt halloween template at the link above, now after purchase you need to download your files somewhere on your computer, as an example create a folder on your desktop and call it “tshirtdesigns”, now you want to “extract” that zip file onto that folder, use the FREE PeaZip program to do this for you. NOTE: The tshirt templates are already sized to fit on most if not POD sites. So no need to resize them, cool!
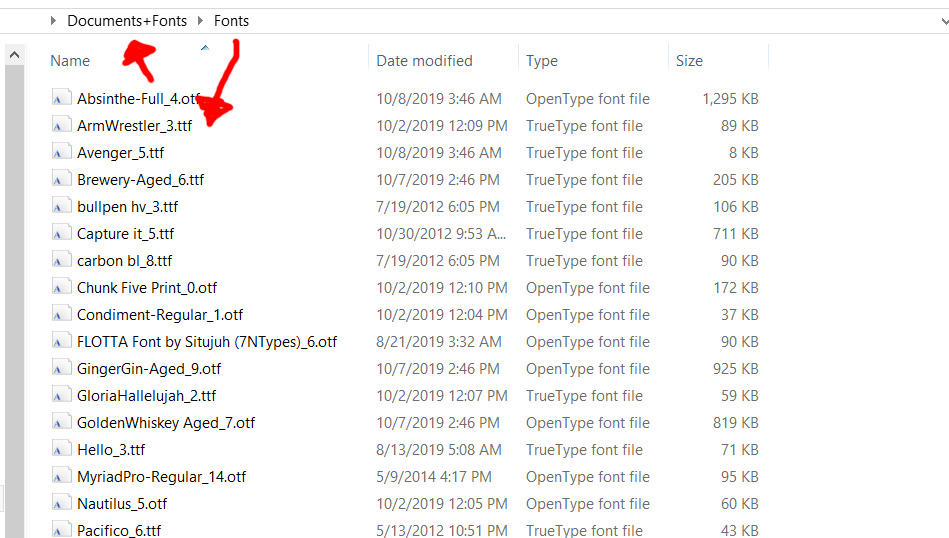
Step 2: Now we need to install all the fonts from the extracted tshirt files. So go to the folder where it says “Document+Fonts”, then select the sub folder called “Fonts”. Now install all the fonts from that folder by double clicking each font and install them on your computer, this might take a couple of minutes, but try to install all of them.
Step3: Now lets go to Photopea.com, Go here –> https://www.photopea.com/
Now click on where it say’s “Open From Computer” and select the folder called “Editable Halloween T-shirt Design Part-1” (that you earlier extracted to your folder on your desktop called “tshirtdesigns), now from that folder select the file called “A grandmother pretends.psd”.
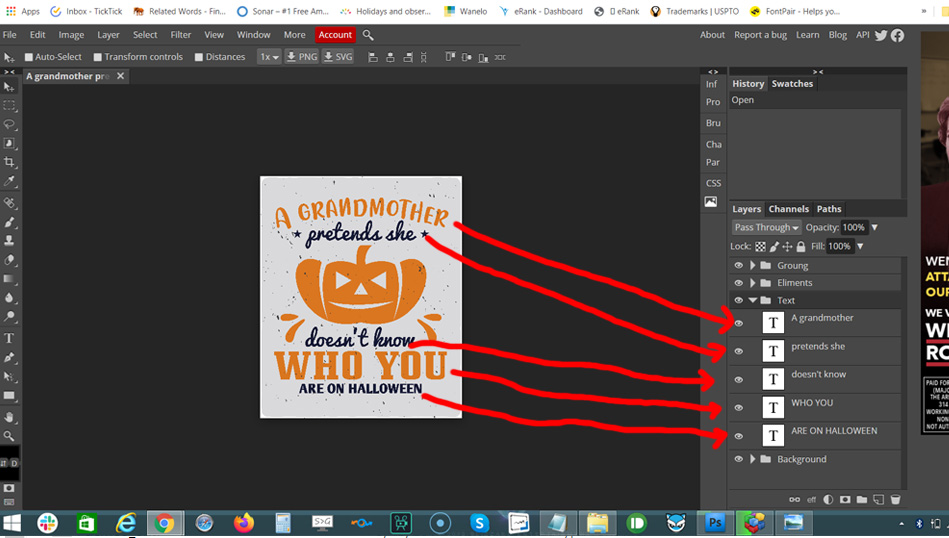
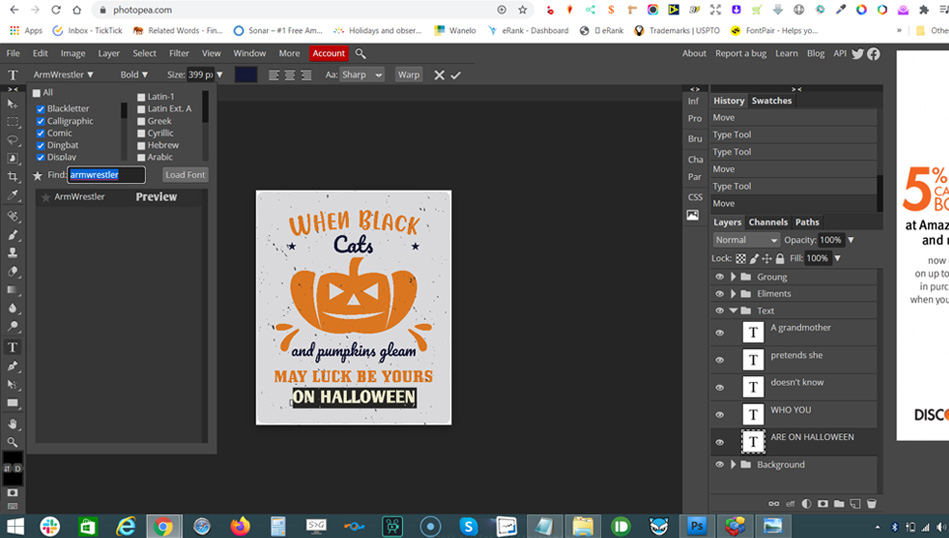
Now you should see the design “A Grandmother pretends” on the screen, as shown below. Let’s now select the “Text” layer, located on the lower right hand side of the screen, see the red arrows pointing to the text folder as shown in the image below.
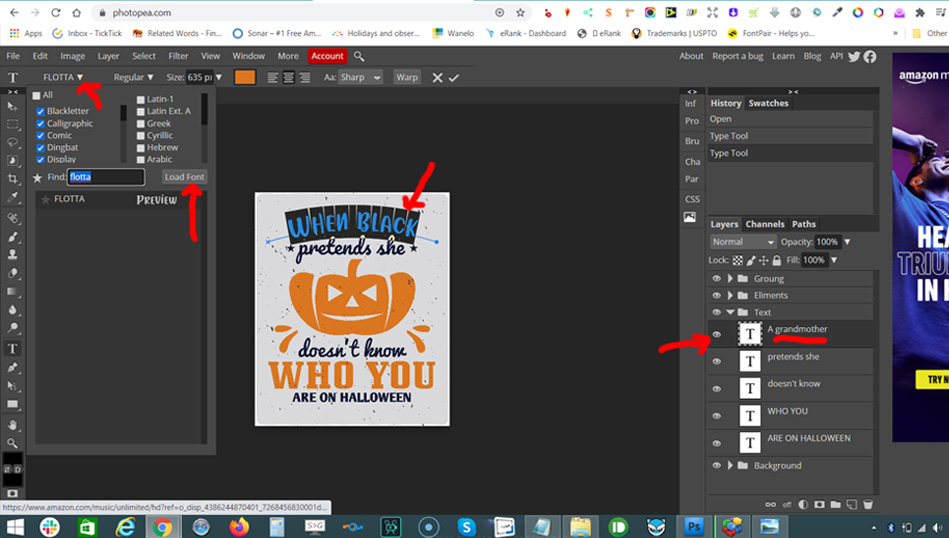
Step 4: LOADING THE FONTS IN PHOTOPEA – Let’s select the first text which is called “A grandmother”, now load the font (on Photopea) by going to the top left of the screen and click on the font drop down and select the “Load Font” button, then you need to go to the font folder that’s in the same folder that you earlier downloaded, then select the font which in this case is called “FLOTTA”, select that font and you will now see on the photopea screen that the font has been loaded, please see the image below:
Step 5: So repeat the previous step and change the text(s) with the following:
A grandmother –> When Black
pretends –> Cats
doesn’t know –> and pumpkins gleam,
WHO You –> May luck be yours
ARE ON HALLOWEEN –> on Halloween
See the image below.
IMPORTANT: You might have to change the text size on each of those text, so it will fit on the design, either make it larger or smaller. You will find the font size at the very top of the photopea design screen. Also, you might also have to move the text around, left to right, up and down, look for that tool on the left hand side bar, it’s shaped as a pointer and is the very top on that same side bar.
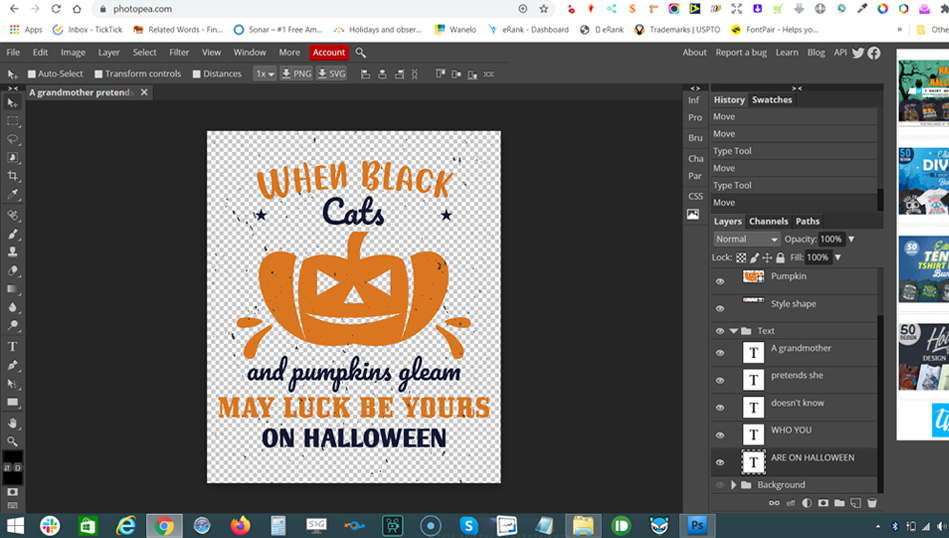
Step 5: Here’s a finished version with all the fonts loaded and new text (see image below), do you notice the new text? So yes, you can edit these templates to say whatever you want, as long as it meets each POD (print on demand) rules.
Now on Step 6, I will show you how to prep and save a working file for you to upload to each of those POD companies.
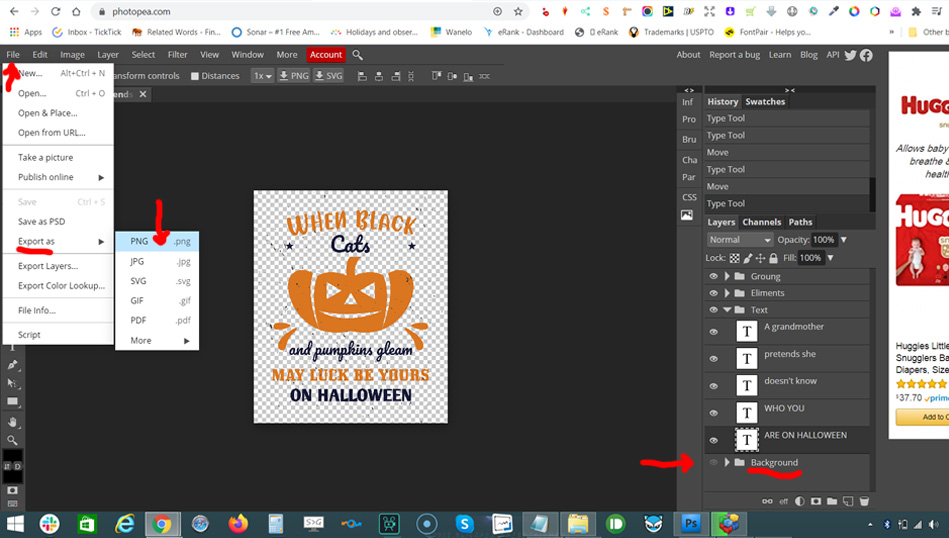
Step 6: Now that the design is done (see image below), we now need to save the file as a .png file for the POD companies. So the first thing to do is to uncheck the “eye” icon button on the “Background” layer, as shown on the image below. This will knockout the background color of the design, do you see it? Once that’s done, you now need to save as a .png file, to to that select the “File” button (located at the top left of the menu) and in the dropdown select “Export as” and select PNG, click that and save as whatever name you want and save it to your “tshirtdesign” folder on your desktop (again, see the image above).
In conclusion: Ok great! Congratulations! You now you have a new Halloween .png file ready to be uploaded to Merch by Amazon, Red Bubble, Etsy, etc. If you need any other help, feel free to contact me at the Contact Form, looking forward to seeing your new designs for the upcoming holidays.


